
Give Yourself the Gift of a Facial Massage.
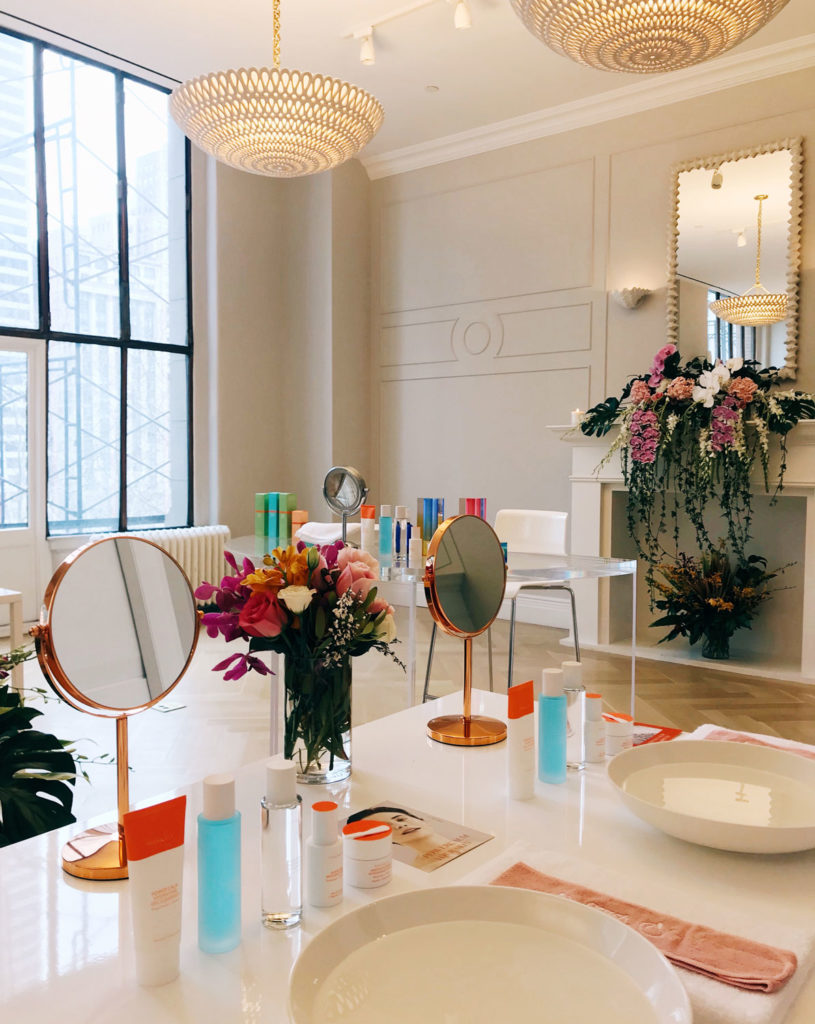
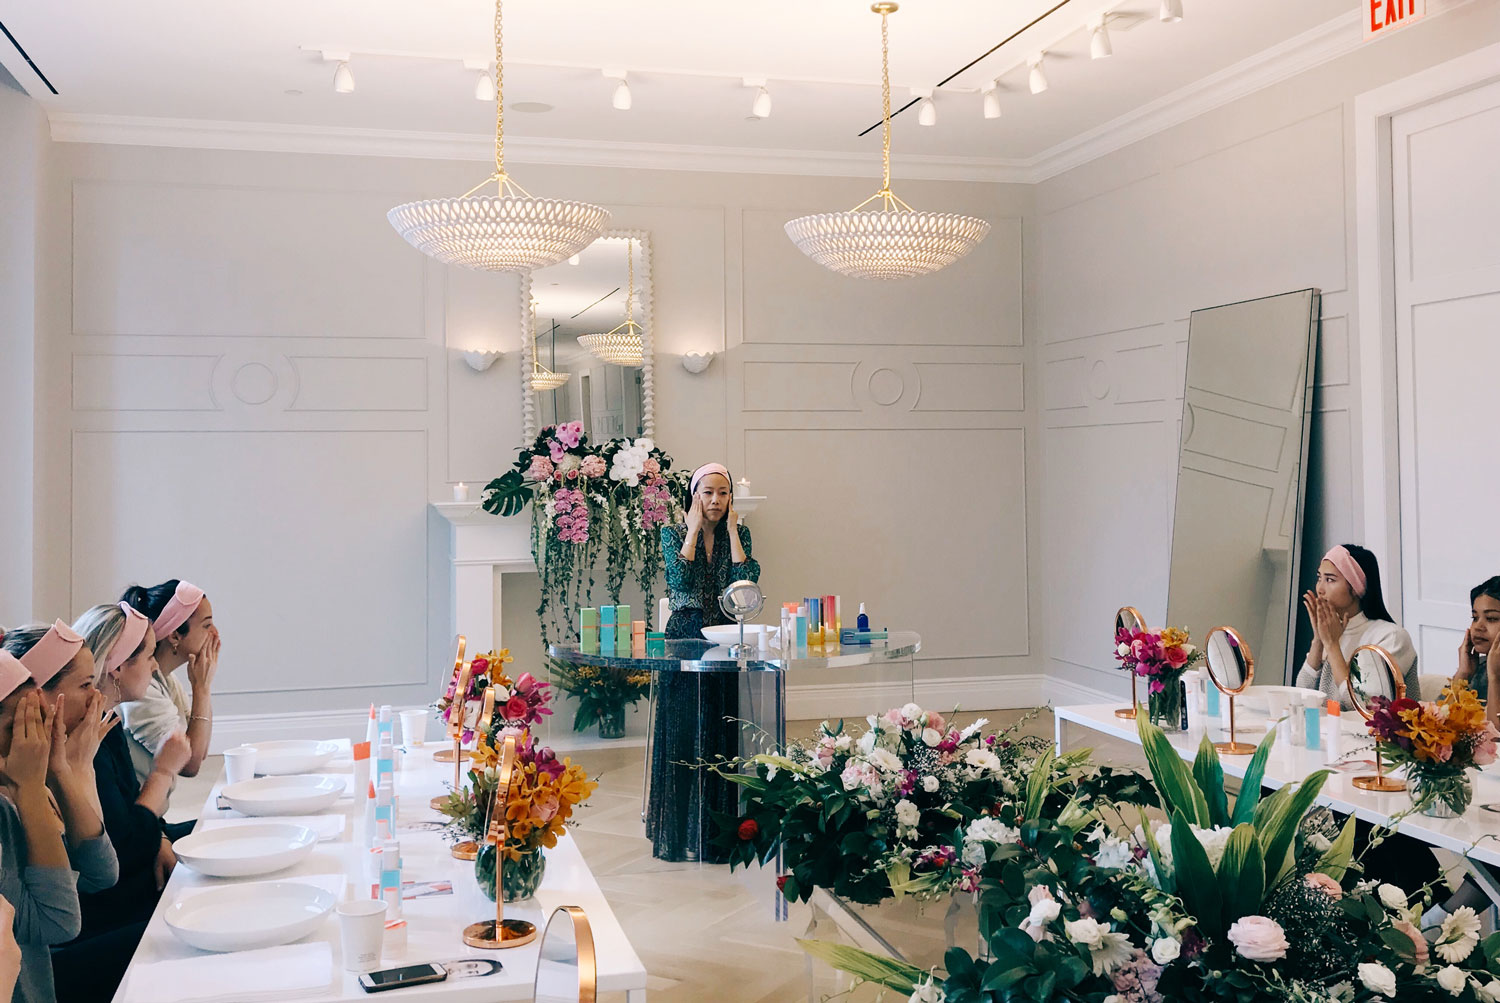
Today, at Peach & Lily HQ, we launched the new Peach & Lily Power Calm Hydrating Gel Cleanser. We dressed our airy space up with beautiful flowers, lit our own custom candle, and invited editors and influencers to try the cleanser, do a full skincare routine, and take a few minutes doing a guided meditation with Agapi Stassinopoulos.
Peach & Lily founder Alicia Yoon is an esthetician, and, as part of the skincare routine, she walked our guests through a facial massage — which is what we’re sharing with you here! We’ve transcribed her guided facial massage for her; the following has been edited and expanded for clarity.
—
After cleansing, pat on your toner and essence, then pump the Peach & Lily Glass Skin Refining Serum onto your hand four times — but don’t pat it in quite yet.
Let’s start with a little pressure on the center of your face. Use your middle fingers to press down on the sides of your nose, so the muscles feel energized. It’s a little complicated to explain, but, if you hold your fingers there and drop your head into them, you’ll feel it. And then, let’s sweep out, under our cheekbones and out.
Then, I like to take two of my fingers — the index and middle — and apply soft pressure on my cheeks, close to my nose but near the center of my cheeks, and start doing little circular motions. This really helps with your sinuses. Even if you don’t have allergies, these little circles help loosen up everything that might be congested — you can do this during your cleansing step as well.
And, then, we’ll move up, right above our eyebrows and do the same small circular motions.
Now, we’re going to focus on our forehead. We’re going to take a little bit more of our Glass Skin and apply it to our foreheads in these broad sweeping motions. Use three to four fingers on each hand and sweep the entire length of your fingers across your forehead, applying gentle pressure each time. Then, making loose fists, do the same sweeping motions with your knuckles. This helps to really prevent those pesky lines.
Facial massages work very similarly to the ways massages work on our bodies. We have points of origin where our muscles attach, and working them out does a couple different things. The first is — it really helps tone up your facial muscles. And, sometimes, your skin might turn a little pink when you’re doing the massages, especially now when we’re using our knuckles, but that’s okay.
The second thing facial massages do is that they help keep the muscles more flexible. When the muscles are really tight, they can wrinkle or be pulled in different directions more easily. The third is that they help with stimulation.
Okay, now we’re going to do bigger motions. Take the heel of your palms, pumping more Glass Serum, and do these big macro movements, pushing from your jawline up your face. I like to massage the area above the cheekbones with my palms because that area doesn’t typically get that much love, and it can get very tight. I love these big macro movements up along my face — it just keeps everything lifted.
Next, we’re going to focus around the mouth. We’re going to apply a little more Glass Serum around the whole mouth area, and take our index fingers to start massaging all around our mouth in horizontal motions, similar to how we did on our forehead. These muscles around our lips do a lot of work for us — talking, eating, showing expressions — so you want to keep them flexible and also firmed up. As we start getting older, this mouth area can start to pucker and lose elasticity, so this kind of face massage helps keep it firm. You can also iron out your laugh line with vertical movements, and you can apply more pressure to this area — you don’t have to press super hard, but this muscle can take quite a bit of pressure.
Now that the mouth area has been massaged, next, we’re going to focus on the eye area. We get a lot of questions about the eye area, which is understandable! Taking another pump of Glass Skin, apply it under the eyes and right over it. The first thing is to take your middle finger and apply it to the area below your tear duct in the corner of your eye, and trace that orbital bone, lighting stroking out. This helps to de-puff and get the circulation going. And, then, there’s another great pressure point right in that area where your nasal bone and your eyebrow bone meets. Firmly press down, pressing up a little bit, to help relieve that tension in the eye area. While continuing to apply pressure, trace the top of your eyebrow bone, moving out from the center of your face.
Then, let’s do more lifting. Start with two to three fingers on either side of your chin, and push up along your mouth, the sides of your nose, along your cheekbones, and out. This, we don’t have to do with too much pressure.
Finally, let’s work on the jaw area. The jaw area can take a lot of pressure, and I like to tuck my thumb under my chin and just knead that muscle all the way up my jaw. And then we’re done!
Comments